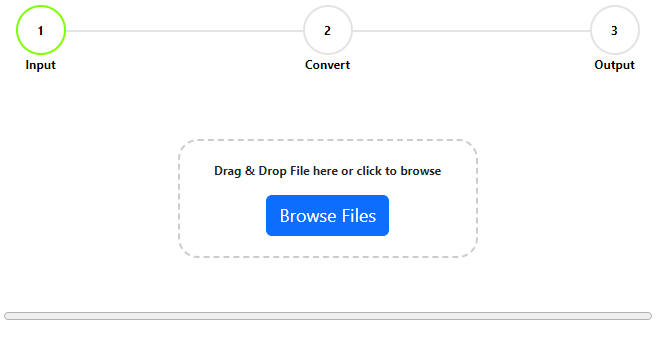
Step-by-step guide to importing CSV files into Google Earth
Prepare Your CSV File:
Ensure your CSV file contains the necessary geographic data, such as latitude and longitude coordinates. It’s also helpful if the file has headers for clarity, like “Latitude,” “Longitude,” “Name,” etc.
Open Google Earth:
Launch the Google Earth application on your computer.
Adjust Settings (if necessary):
Depending on the format of your data, you might need to adjust the settings in Google Earth. For instance, ensure that the latitude and longitude settings match the format in your CSV file (e.g., decimal degrees).
Import the CSV File:
- Go to the “File” menu.
- Select “Import.”
- Navigate to the location of your CSV file and select it.
- Choose the appropriate file type, typically “Generic Text (.txt, .csv).”
Map the Fields:
During the import process, Google Earth will prompt you to map the fields in your CSV to the appropriate attributes in Google Earth. For example, you’ll need to specify which columns in your CSV correspond to latitude and longitude.
Style the Data Points:
After importing, you can customize the appearance of the data points. This includes:
- Choosing icons for the data points.
- Selecting colors for the icons and labels.
- Adjusting the size and scale of the icons.
Review the Imported Data:
Once imported, your data points should appear on the map in Google Earth. You can click on each point to view more details or make further customizations.
Save Your Work:
If you’re satisfied with the import and any customizations, go to the “File” menu and select “Save” to save your work.
Optional Styling and Templates:
Google Earth allows you to apply style templates to your data, which can help with consistent styling if you’re importing multiple datasets or want to reuse a particular style.
Finalize and Share:
Once you’ve imported and styled your data, you can save, share, or export it as needed.
Frequently asked questions about importing CSV files into Google Earth:
What data do I need in my CSV file to import into Google Earth?
- At a minimum, you need latitude and longitude coordinates. However, additional columns like name, description, altitude, and others can provide more context to your data points.
Why aren’t my data points appearing in the correct location on Google Earth after importing?
- This could be due to several reasons:
- The latitude and longitude might be swapped.
- The coordinate format in the CSV might not match the format set in Google Earth.
- There could be errors in the CSV data.
Can I import data other than latitude and longitude, like descriptions or images?
- Yes, Google Earth supports importing additional data fields. These can be used to populate the name, description, and other attributes of placemarks.
What formats does Google Earth support for importing data? Is it just CSV?
- Google Earth primarily supports KML and KMZ formats. However, it can also import CSV, GPX, and some other data formats.
How can I customize the appearance of my data points after importing them?
- After importing, you can right-click on a data point (or a group of data points) and select “Properties” or “Get Info.” From there, you can customize icons, colors, labels, and more.
I have a large dataset. Is there a limit to the number of data points I can import into Google Earth at once?
- While Google Earth can handle thousands of data points, performance might degrade with extremely large datasets. It’s recommended to break up very large datasets into smaller chunks for optimal performance.
Why is Google Earth not recognizing the headers in my CSV file?
- Ensure the first row of your CSV contains the headers and that there are no blank rows or extraneous data at the beginning of the file.
Can I update or edit the data in Google Earth after importing it?
- Yes, after importing, you can right-click on individual data points to edit their properties. However, changes made in Google Earth won’t reflect back in the original CSV file.
How do I handle CSV files that use delimiters other than commas?
- During the import process, Google Earth will prompt you to specify the delimiter used in your CSV file, such as tabs, semicolons, or others.
Is there a way to batch-import multiple CSV files at once?
- Google Earth doesn’t natively support batch importing of multiple CSVs. You’d need to import each file individually or combine multiple CSVs into one before importing.
How can I share or export my Google Earth project after importing data from a CSV file?
- You can save your project as a KML or KMZ file and share that file. Alternatively, you can use the “Share” feature in Google Earth, depending on the version you’re using.
What should I do if some of my data points are missing after the import?
- Check the CSV file for errors or missing data. Ensure that every row has valid latitude and longitude values. Also, ensure that the data format matches what Google Earth expects.
Can I apply the same style or template to multiple data sets that I import?
- Yes, after setting a style for one dataset, you can save it as a template and apply it to other datasets you import.
How do I ensure that the coordinate format in my CSV matches what Google Earth expects?
- Before importing, check the settings in Google Earth to see the expected coordinate format (e.g., decimal degrees). Ensure your CSV data matches this format.
Is there a way to automate the import process if I frequently update my CSV data?
- While Google Earth doesn’t have built-in automation tools, you can use scripts or third-party tools to convert CSV data to KML format, which can then be easily loaded into Google Earth.


